| |
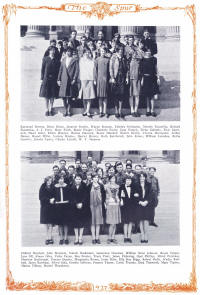
We are also able to clean-up
the original scanned images. With many older print
publications, the page and its images have turned brown or
have faded. Modifications to the original scans
are done to enhance the appearance of the images and make
them easier to read and view. There are a variety of
modifications that can be done to your specifications.
We have provided a sample
below showing a progression of alterations to a yearbook
page.
Each thumbnail below, when selected, will open into a new browser
window with the image at 1000 pixels wide. You can
then view at least two browser windows (depending on the
browser you use) next to each other to
see the change. |
|
| |
|
Select image for
larger view |
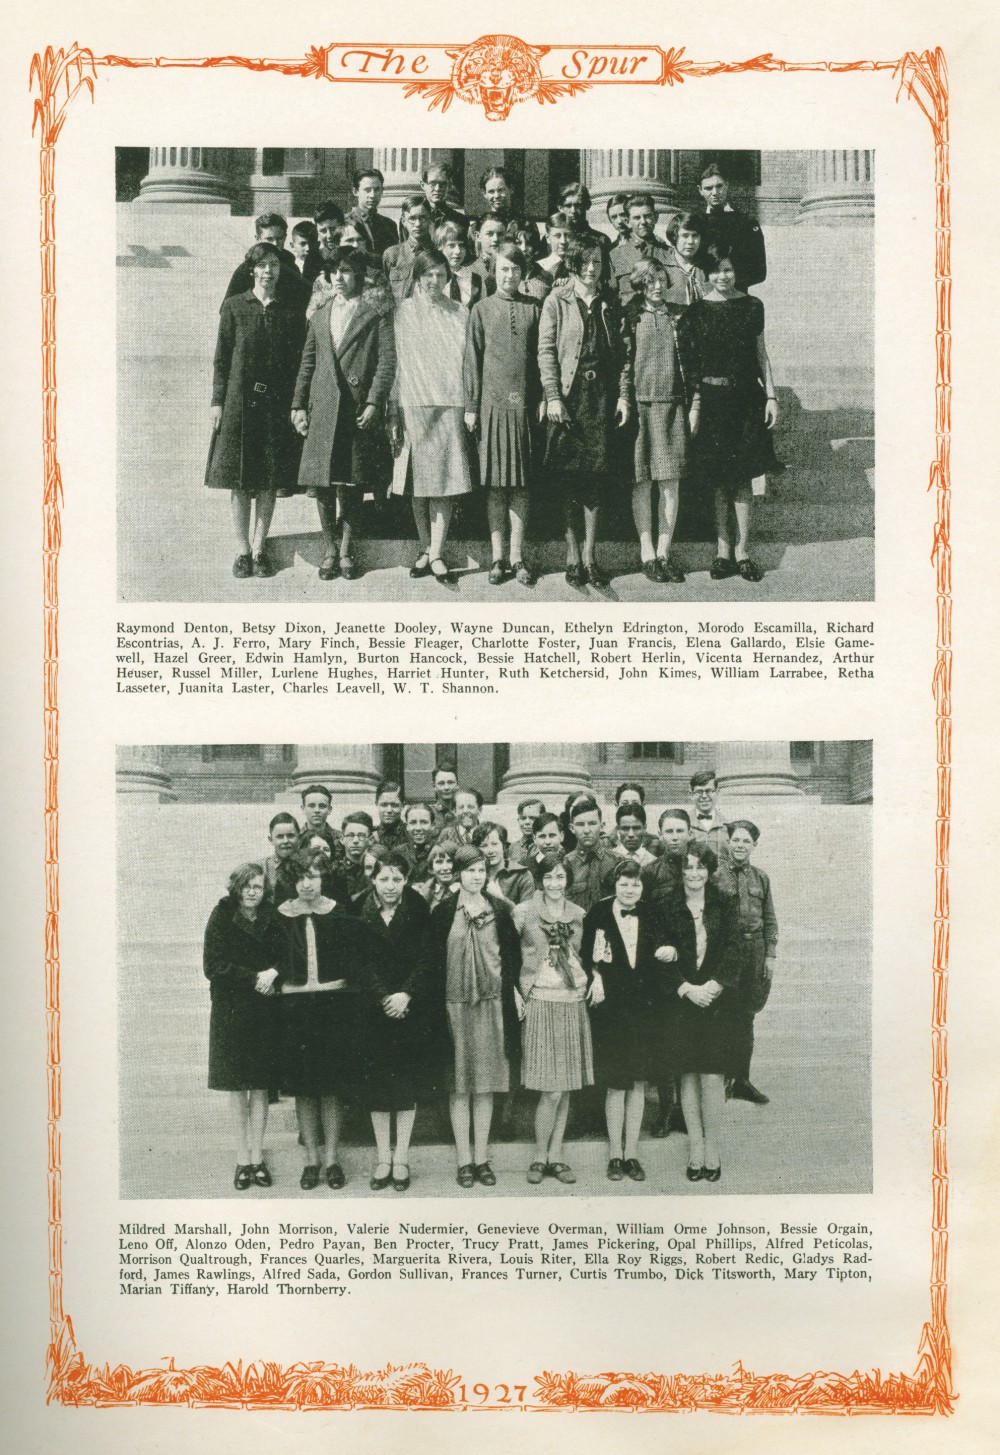
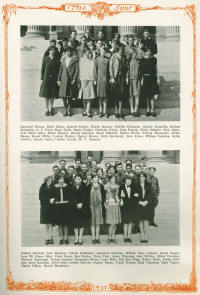
Step 1
Original Image
The original page scanned at 600 dpi as a tiff (65.6
Mb).
To decrease the size of the original scan down to something
that will be a reasonable size on a website, we saved
the image as a jpg 300 dpi at a width of 1000 pixels
(425 Kb).
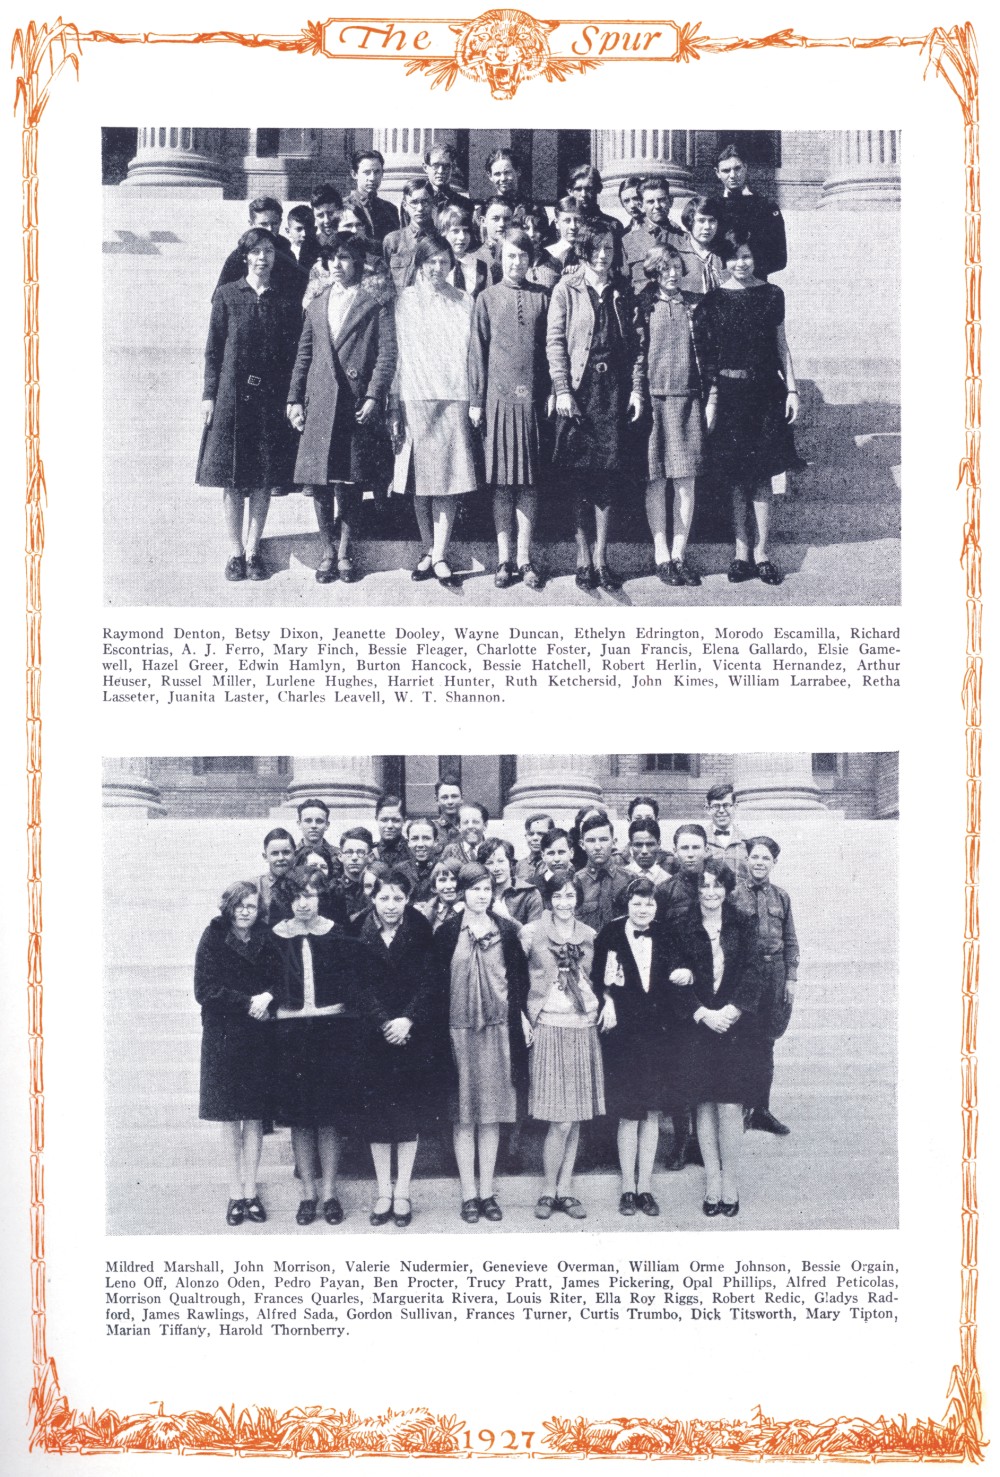
This page had turned brown with age and had water
damage along the bottom portion of the page. This
water damage also had warped the bottom of the page
therefore, not allowing the page to lay flat on the
scanner. Note
the shadow on the lower left corner because of this. |
|
|
|
|
|
| |
|
Select image for
larger view |
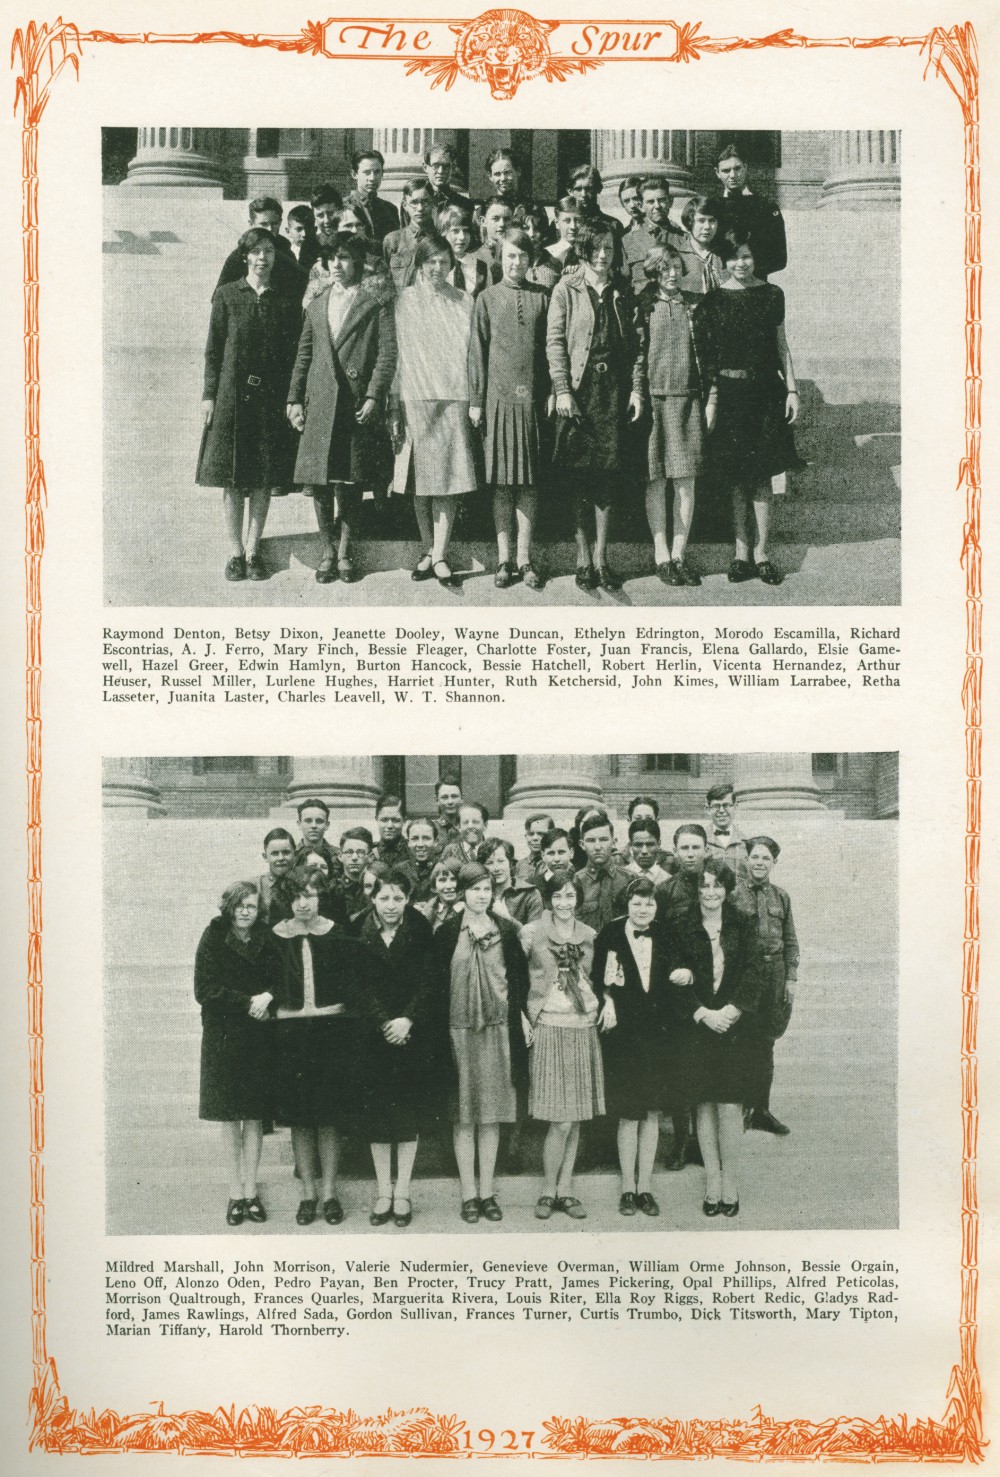
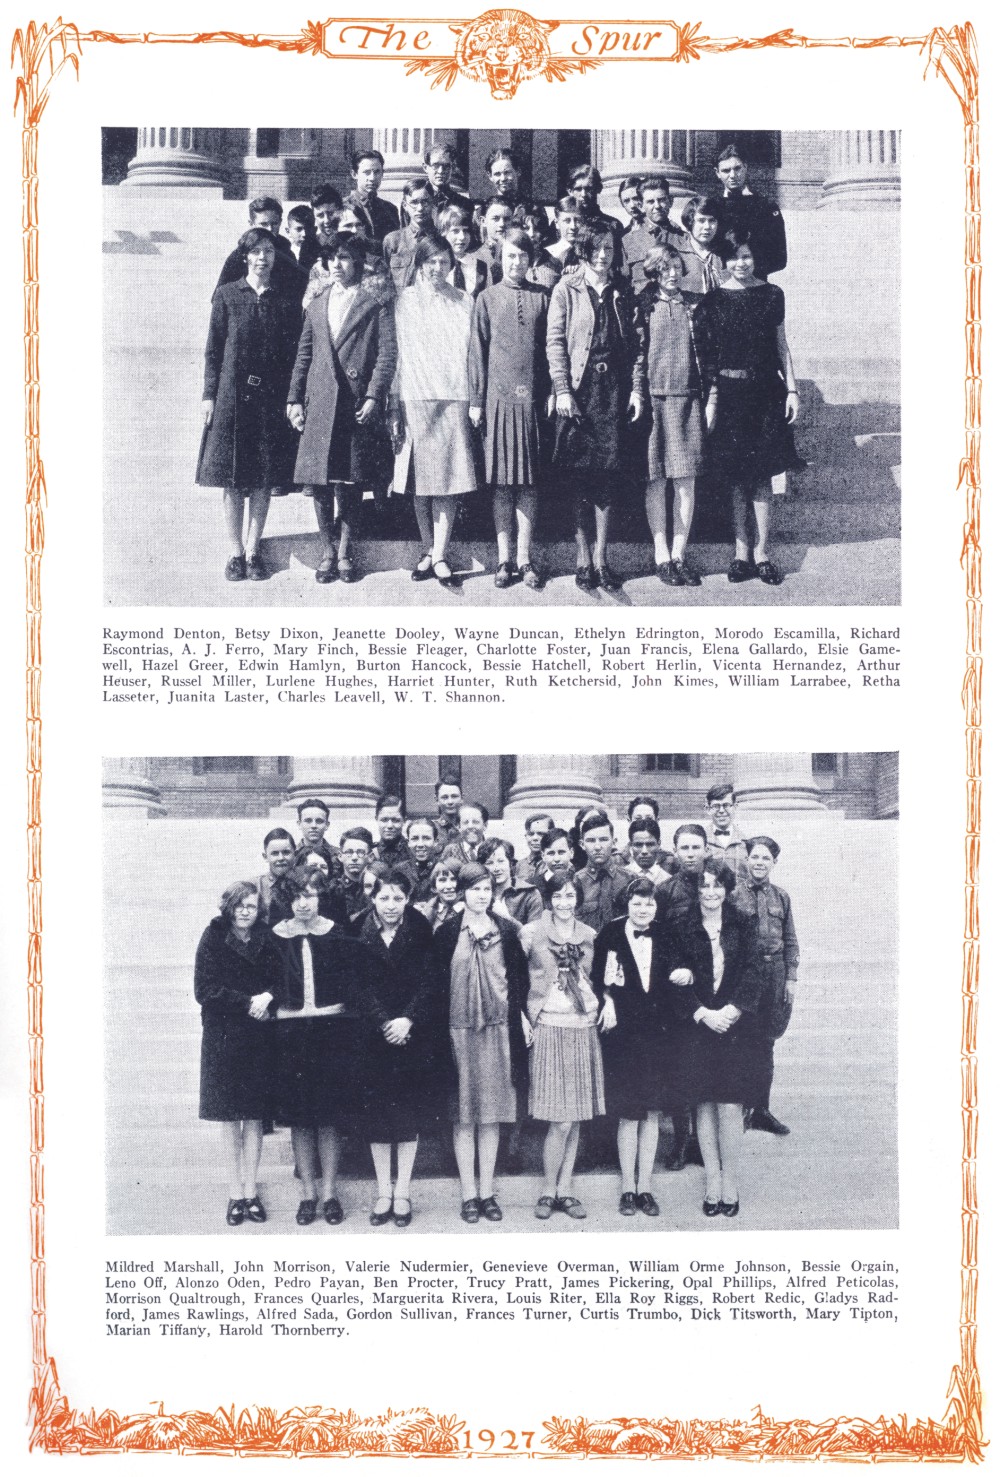
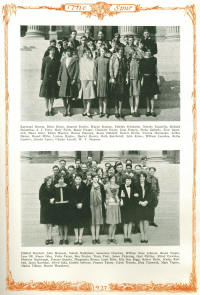
Step 2
Cropping Image
Cropping the page images is a choice you will have to
make for your project. For our own projects we
have made a practice of eliminating the irrelevant white
space around the image. We believe that the viewer
is more interested in the images, not the white space
around it. Cropping also reduces the size of the
file and makes the important elements on the page
larger.
|
|
|
|
|
|
| |
|
Select image for
larger view |
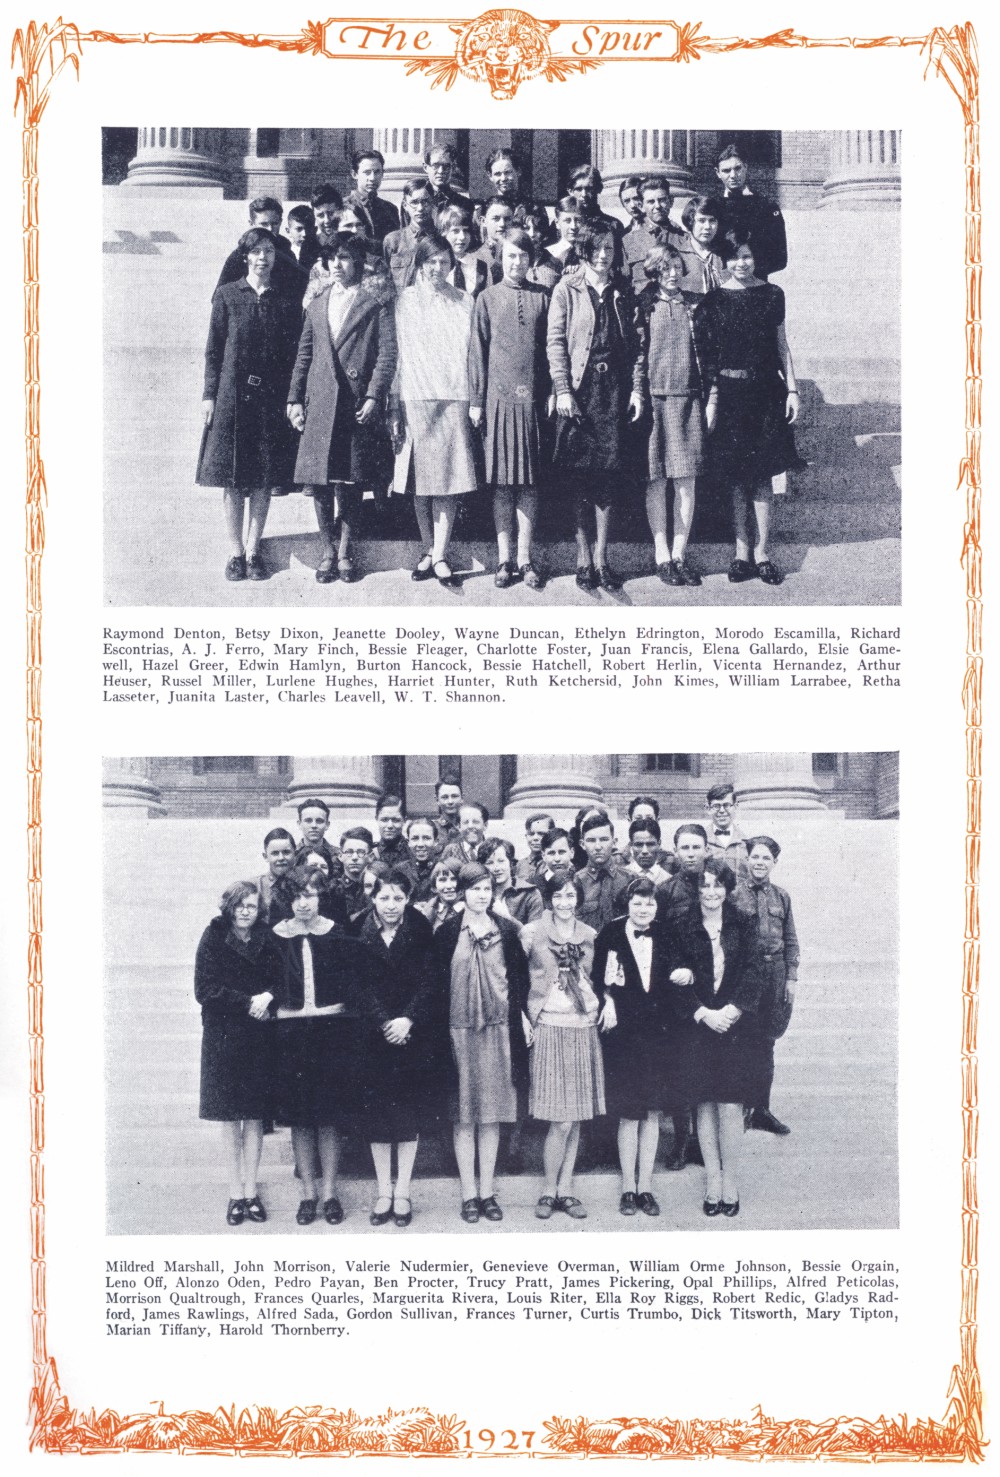
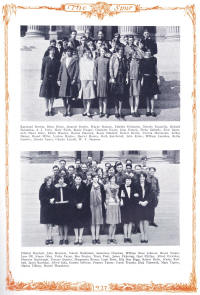
Step 3
Increasing Intensity by 10%
The software we use to modify the images can alter
the brightness, contrast, and intensity. For this
image we did not want to change the contrast because it
removes some of the grayscale in the photographs
(halftones). But we wanted to lighten the photo up
a little. |
|
|
|
|
|
| |

Select image for
larger view |
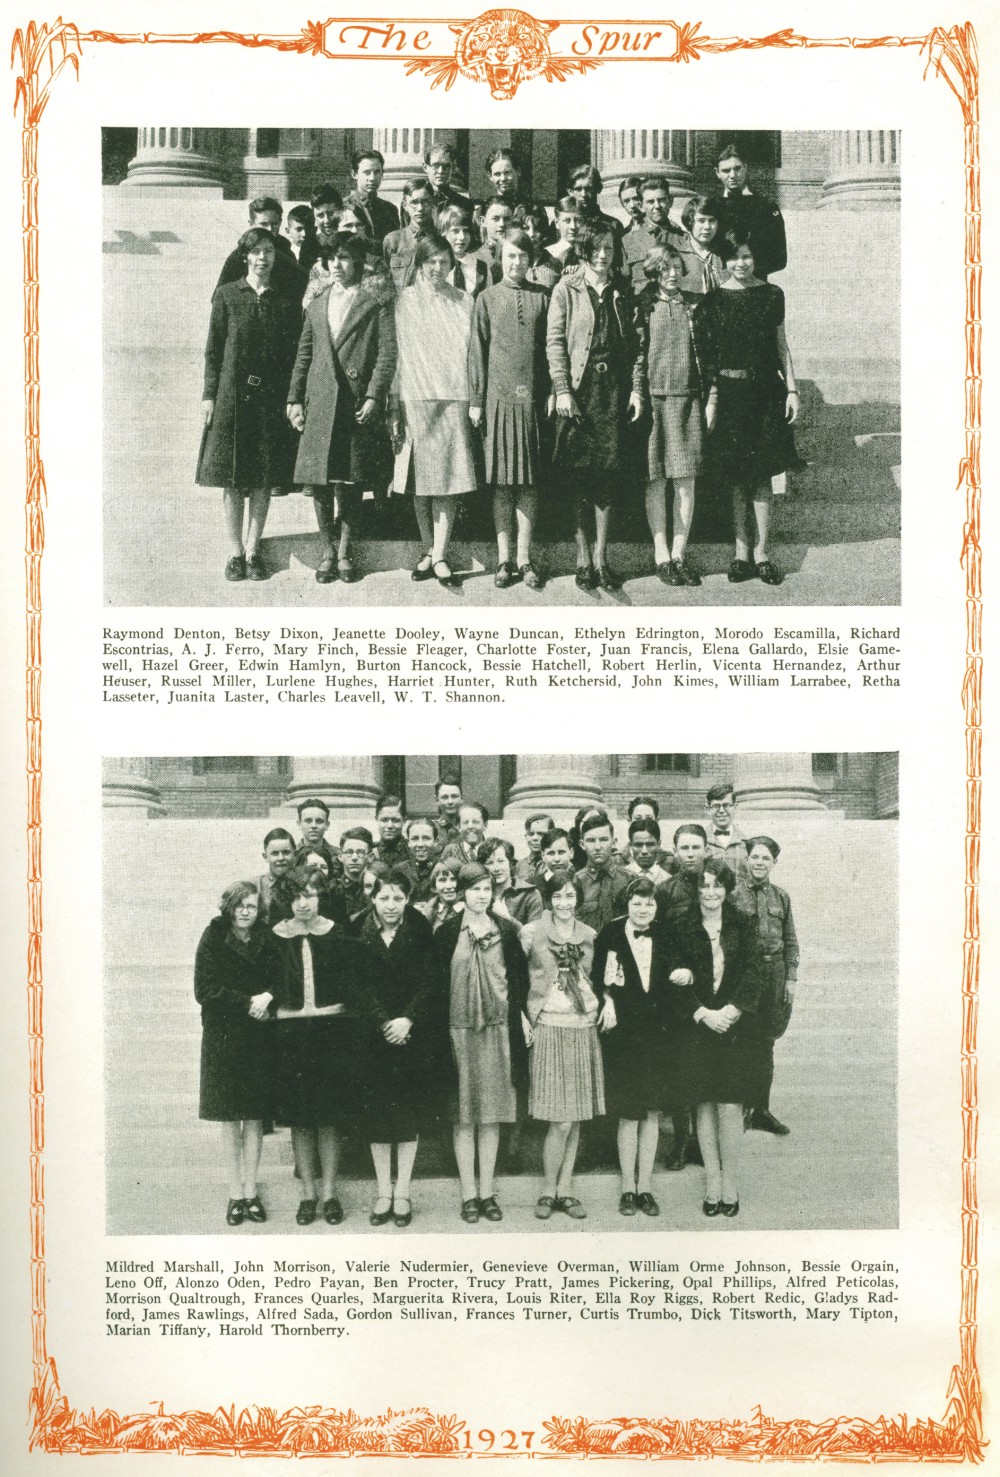
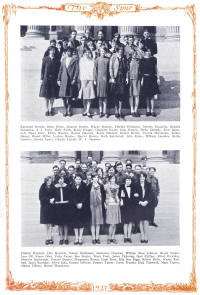
Step 4
Auto Equalize
The software we use can also get rid of the browning of
the page by equalizing the tone. Notice the
brownish/yellow tone has now been eliminated from the
page. |
|
|
|
|
|
| |
|
Select image for
larger view |
Step 5
Increasing brightness by 10%
Some of the image was still a little dark so we
increased the brightness. |
|
|
|
|
|
| |
|
Select image for
larger view |
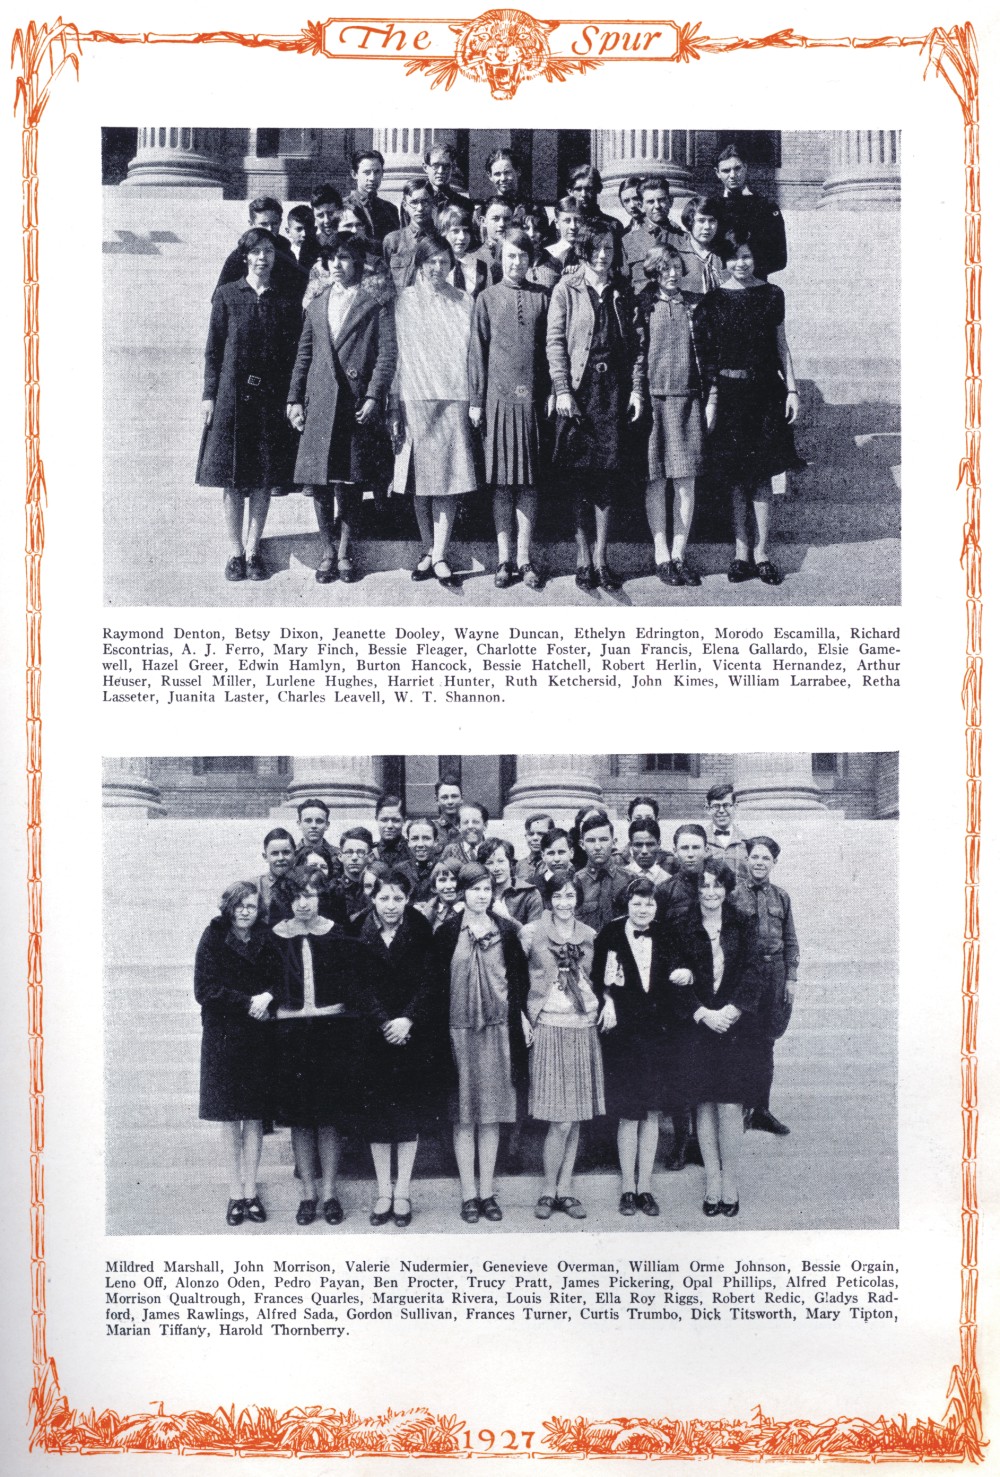
Step 6
Digital cleaning of flaws
On this image, we went in and "erased" the shadow in the
lower left corner and some marks on the paper. |
|
|
|
|
|
| |
|
Select image for
larger view |
Step 7
Remove moiré
During the printing process halftone screens are used
for photographs. The dots vary in size from small
for light areas and large for dark areas. The
screens used in this process vary usually from 85 - 300
dpi. For the older yearbooks, the range usually
fell in the 100 -150 range. The dots are barely
visible to the naked eye in the print yearbooks, but
when the image is scanned in and mixed with the screen
on your computer monitor, you may see a strange pattern.
This is called a moiré (more-ray). Our software
can remove the appearance of this moiré making the image
appear sharper.
|
|
|